How to work with nRF Kconfig GUI
The nRF Connect for VS Code extension allows you to view and customize your application's configuration with the nRF Kconfig GUI, a graphical representation of the Kconfig tree structure.
The GUI displays the list of Kconfig options that are used in the project configuration files (prj.conf and Kconfig fragments) for the currently selected build configuration.
This means that you can only configure options specific to the board you have configured the build for; options for other boards will be greyed out. For example, when you work with the nRF52840 DK, you can still search for Kconfig options for the nRF5340 DK, but you won't be able to select them.
This page provides information about the most common ways you can interact with the GUI. For a detailed description of the interface, see the nRF Kconfig GUI page in the UI and reference section.
How to access the nRF Kconfig GUI
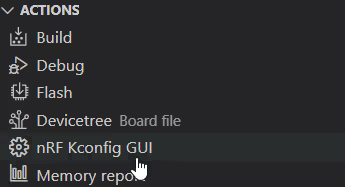
To open the GUI, click nRF Kconfig GUI in the Actions View. This action is available only after you set up the build configuration.

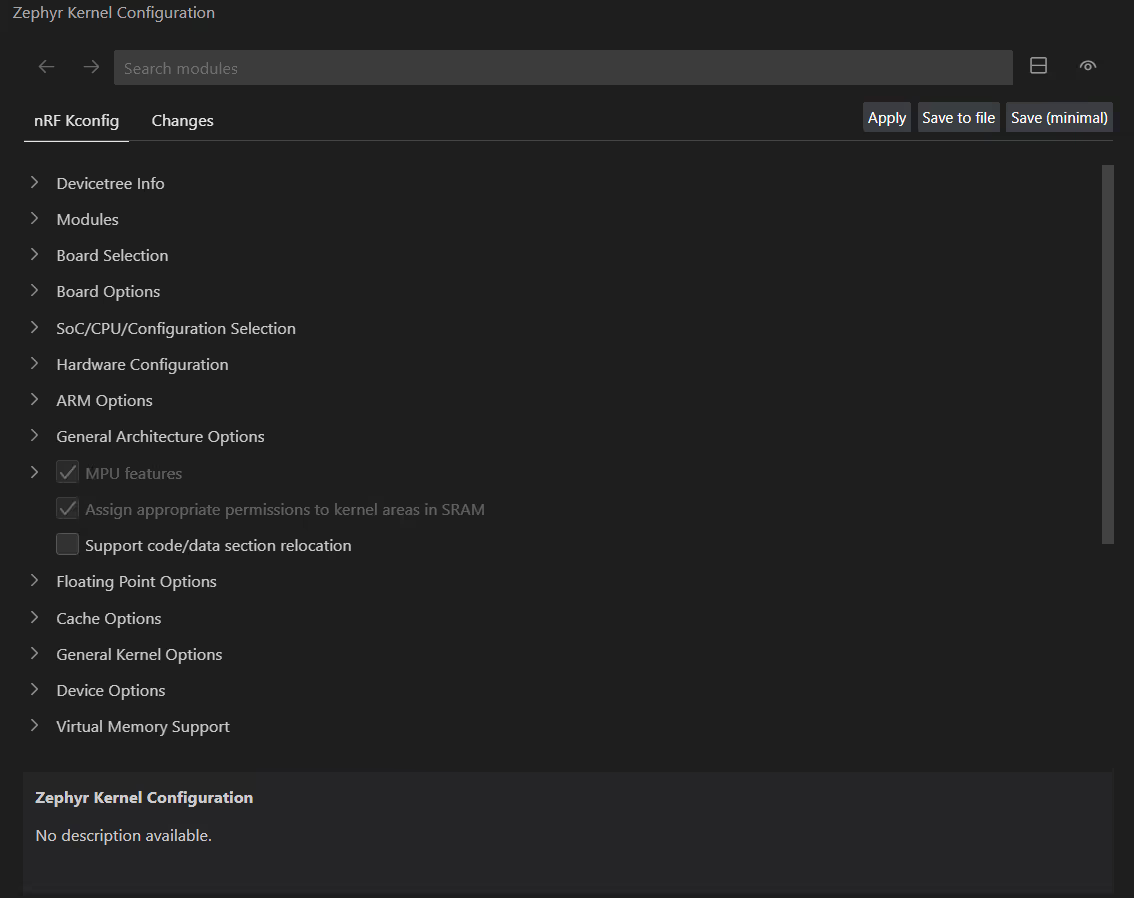
This opens the main screen of the nRF Kconfig GUI.

Alternatively, you can run nRF Connect: Kconfig from the Command Palette to access the GUI (if it is selected as the default interface).
How to customize the Kconfig options
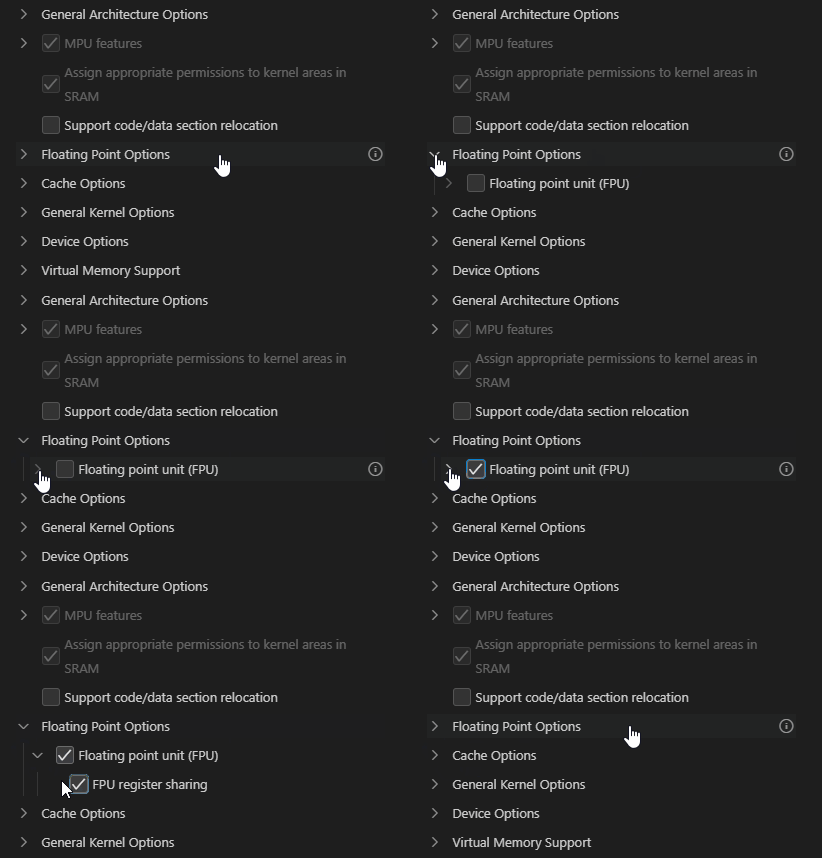
Kconfig is organized in a hierarchical structure where child options are nested under parent options. In some cases, the parent option must be enabled first before the child option is visible. Similarly, enabling a parent node can also enable one or more of its children.
You can customize the Kconfig option settings in one of the following ways, depending on the option type:
-
For options with the checkbox, you can tick or untick the checkbox to enable or disable the option, respectively.

-
For options with a pencil icon, you can write the new value in the input field.
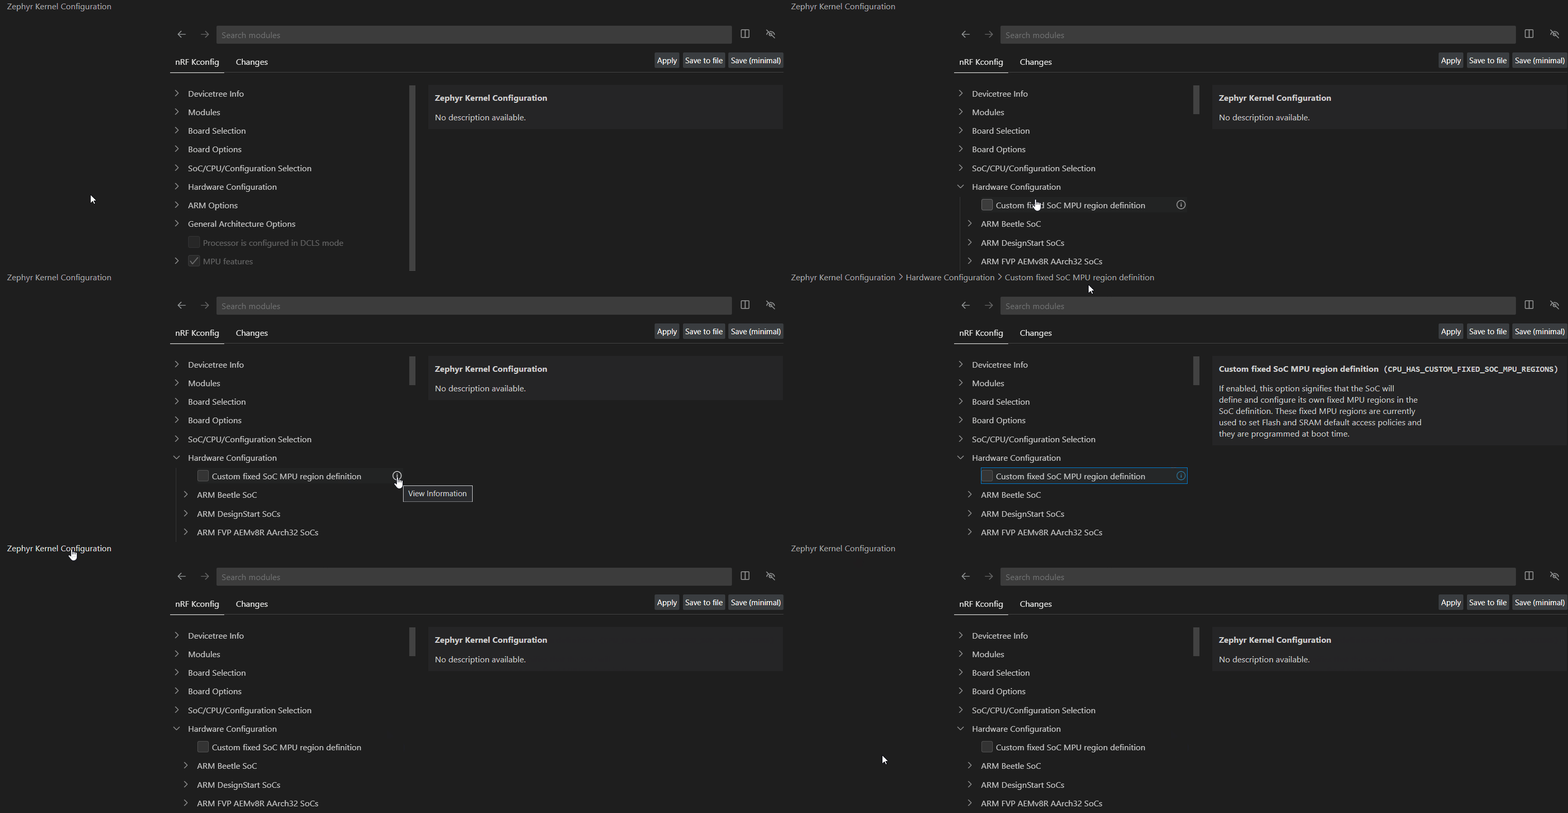
To see details about a particular option, click the item in the tree or click the View Information button. The Kconfig option details appear in the adjacent information area and the breadcrumb is updated with the path to the selected Kconfig option.

To see where the Kconfig symbol is defined, click the Jump to Definition button.
This opens the related kconfig file in the editor.
The changes will not be applied until you save them.
Note
You cannot edit hidden nodes.
How to save Kconfig changes
After customizing the Kconfig options, you must save the configuration file in the Kconfig GUI using one of dedicated options. This is different from the Devicetree Visual Editor, which propagates the changes to devicetree files in real time and where you can use the standard saving action either in the editor or in the file.
There are several ways to save your Kconfig option changes: Apply, Save to file, and Save (minimal). See the button tooltips for more information.
The Save to file button will be greyed out if no Kconfig configuration file is found. Read the Zephyr documentation on Kconfig for information about how to create one and how to provide it to the build system.
How to review and revert changes
You can review changes in the Changes tab.
To revert a change to its original value, click the Reset Value button on the right-hand side of the item.