Nodes View and Visual Editor
The Devicetree Visual Editor lists all available nodes for the selected devicetree file in a hierarchical Nodes View. The nodes from this view are represented in the graphical Peripherals and Pins views, which let you inspect and modify node properties and pin assignments.
For information about most common actions that you can do in the editor, see How to work with Devicetree Visual Editor. All changes made in the visual editor are automatically mirrored in the code of the devicetree file.
Nodes View
The Nodes View is by default located at the top of the editor sidebar and it is the main interaction panel of the editor.
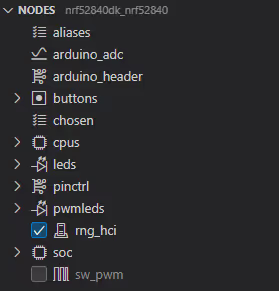
Nodes View actions
The following table lists actions that you can take in the Nodes View. These are contextual and depend on the node and its properties.
| UI element/action | Type | Description |
|---|---|---|
| Add Global Node | Toolbar button | Click to open the Add Node quick pick menu and add a new node to the list. |
| Find Node | Toolbar button | Click to open the Find Node quick pick menu and search for a specific node. |
| Enable/disable node checkbox | Checkbox | Check to enable the given node in the devicetree. Uncheck to disable the node. You cannot see or edit children of a disabled node.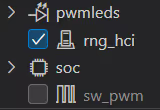 This option is related to the This option is related to the status property. Checked nodes have status = "enabled" and unchecked nodes have status = "disabled". Nodes without a checkbox don't have the status property. |
| Show in Text Editor | Context menu action | Right-click on the node or property name to access the option and go to the location in the devicetree code file. |
| Copy Path | Context menu action | Right-click on the node or property name to access the option and copy the path to clipboard. |
| Delete | Context menu action | Click to remove the node. |
Peripherals
The Peripherals view is default Visual Editor view, organized around a central square area that is meant to represent the SoC with all its configured nodes and peripherals. Outside of this area, the available and assigned pins are listed.
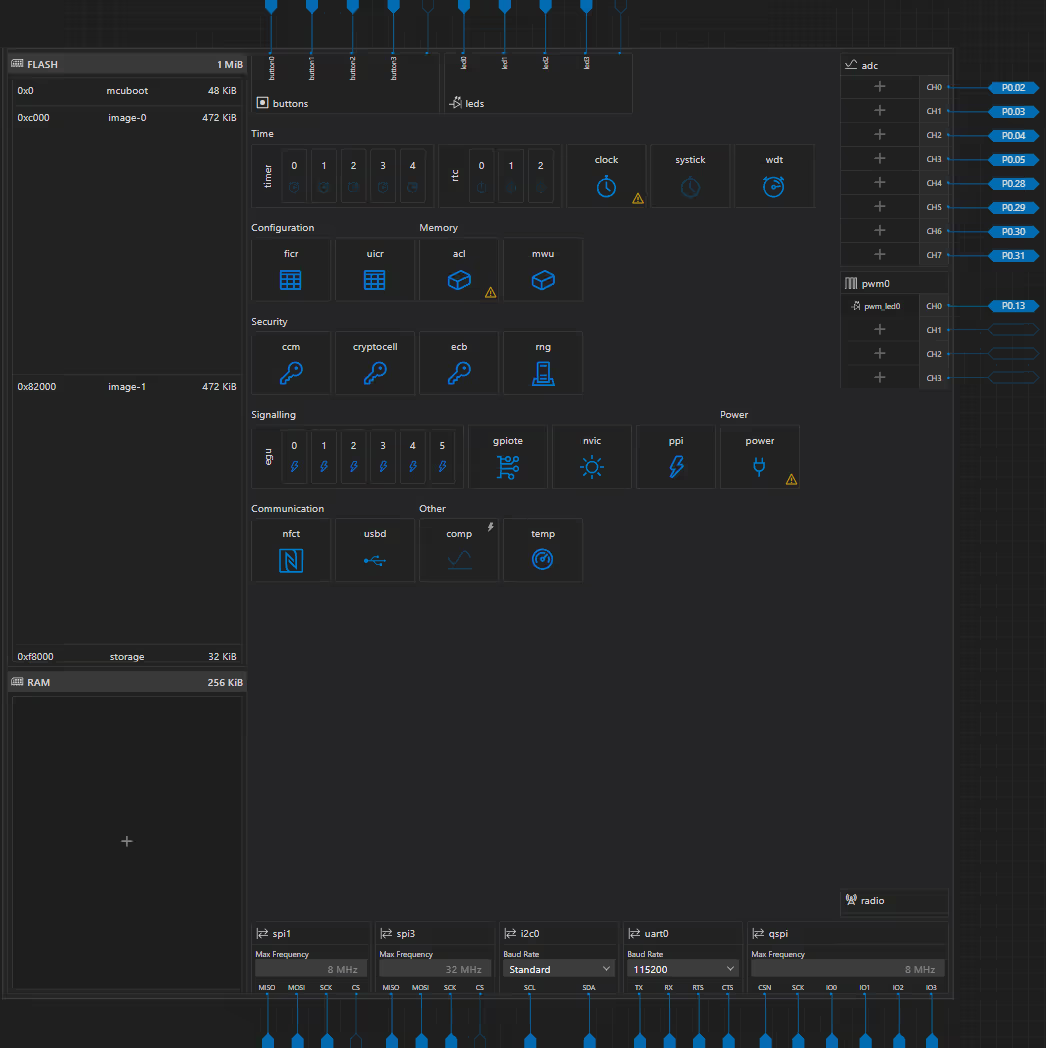
Clicking the node tiles and pins opens information about them in the Node Inspector panel.
Node Inspector
When you select a node in the Nodes View (or in the Peripherals view), the Node Inspector sidebar panel displays properties and information about the currently selected node. For example, the following image shows information for the itm node.
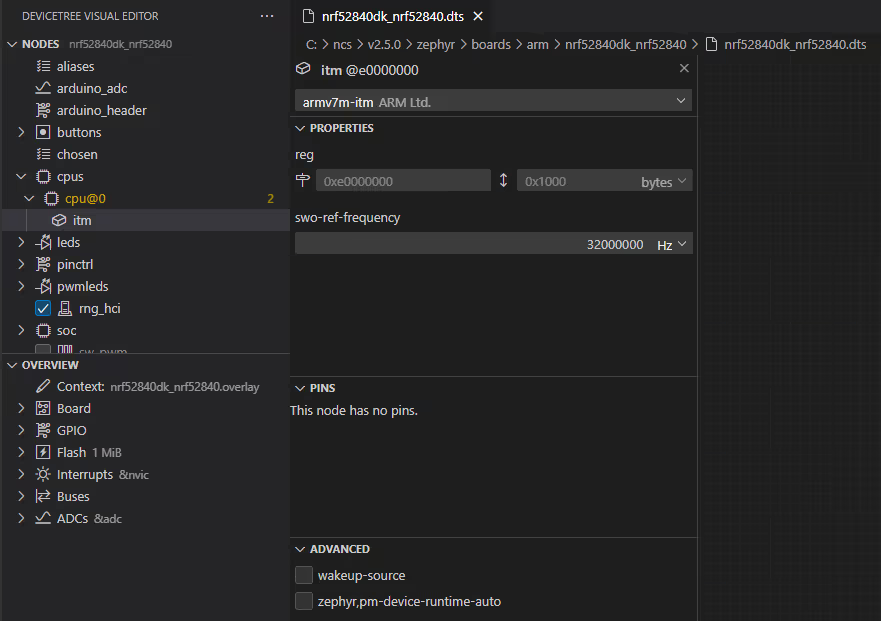
The Node Inspector groups the properties in a series of areas, described in the following table.
| Section | Description |
|---|---|
| Properties | Includes the list of properties for the selected node. 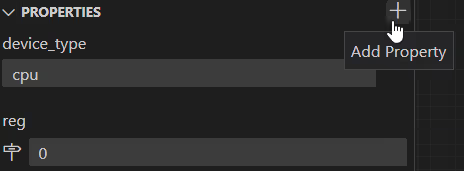 Hovering with the mouse cursor over the property name will display a tooltip with information about the property. You can use the Add Property button at the heading level to add a property from a dedicated window. The list of options in the window entries is populated from the Zephyr and nRF Connect SDK devicetree type YAML files. Hovering with the mouse cursor over the property name will display a tooltip with information about the property. You can use the Add Property button at the heading level to add a property from a dedicated window. The list of options in the window entries is populated from the Zephyr and nRF Connect SDK devicetree type YAML files. |
| Pins | Includes the list of pins for the selected node. 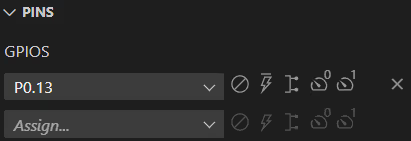 Use the buttons next to the pin drop-down menu to configure the behavior of the chosen pin. These buttons correspond to the ones displayed in the Pin Overview in the Pins view. Use the buttons next to the pin drop-down menu to configure the behavior of the chosen pin. These buttons correspond to the ones displayed in the Pin Overview in the Pins view. |
| Advanced | Includes the list of advanced properties for the selected node. 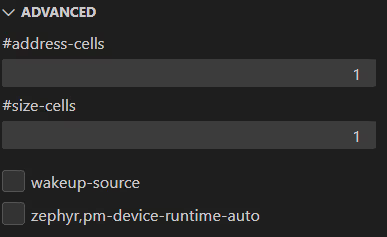 |
| Labels | Includes the list of labels.  The labels are unique, human-readable identifiers of the node. You can add custom labels using the Add Label button, located at the heading level. The labels are unique, human-readable identifiers of the node. You can add custom labels using the Add Label button, located at the heading level. |
| Description | Includes the help description for the selected node.  The description is taken automatically from the devicetree source files. You can use the Visit Online Documentation button at the heading level to open and read the source documentation for the node, either in the Zephyr SDK documentation or in the Devicetree specification. The description is taken automatically from the devicetree source files. You can use the Visit Online Documentation button at the heading level to open and read the source documentation for the node, either in the Zephyr SDK documentation or in the Devicetree specification. |
Node Inspector actions
The following table lists UI elements in the node property entries and actions that you can take in the Node Inspector. These are contextual and depend on the node and its properties.
| UI element/action | Type | Description |
|---|---|---|
| Controller selector | Drop-down on the panel toolbar | Click to select a controller from a drop-down menu. The list of options in the menu is populated from the Zephyr and nRF Connect SDK devicetree type YAML files. 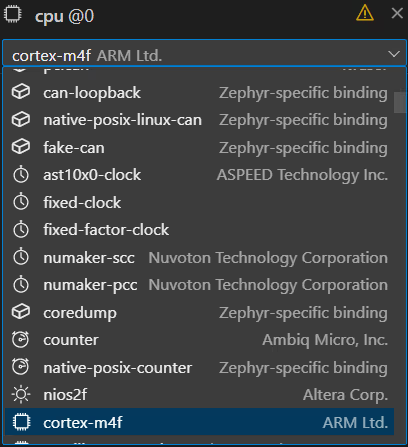 |
| Add new element | Button | Click to add a new element to a property in the Properties tab.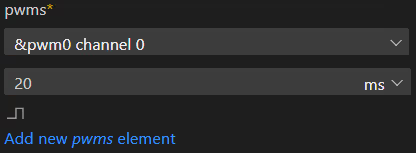 |
| Show in Text Editor | Context menu action | Go to the location in the devicetree file. Right-click on the node or property name to access this option. |
| Show Type Binding | Context menu action | Open the devicetree bindings file at the location where the given property is defined. Right-click on the node or property name to access this option. |
| Copy Path | Context menu action | Copy the path to clipboard. Right-click on the node or property name to access this option. |
| Delete | Context menu action | Click to remove the current property element. |
Pins
The Pins view displays the general overview of the SoC pins and its assignments. As such, it presents a mirror image of the Peripherals view.
If there is more than one assignment for a pin, the pin features additional chevrons next to its entry, one for each additional assignment. Clicking the pin assignment lists all node assignments for the pin in the Pin Overview.
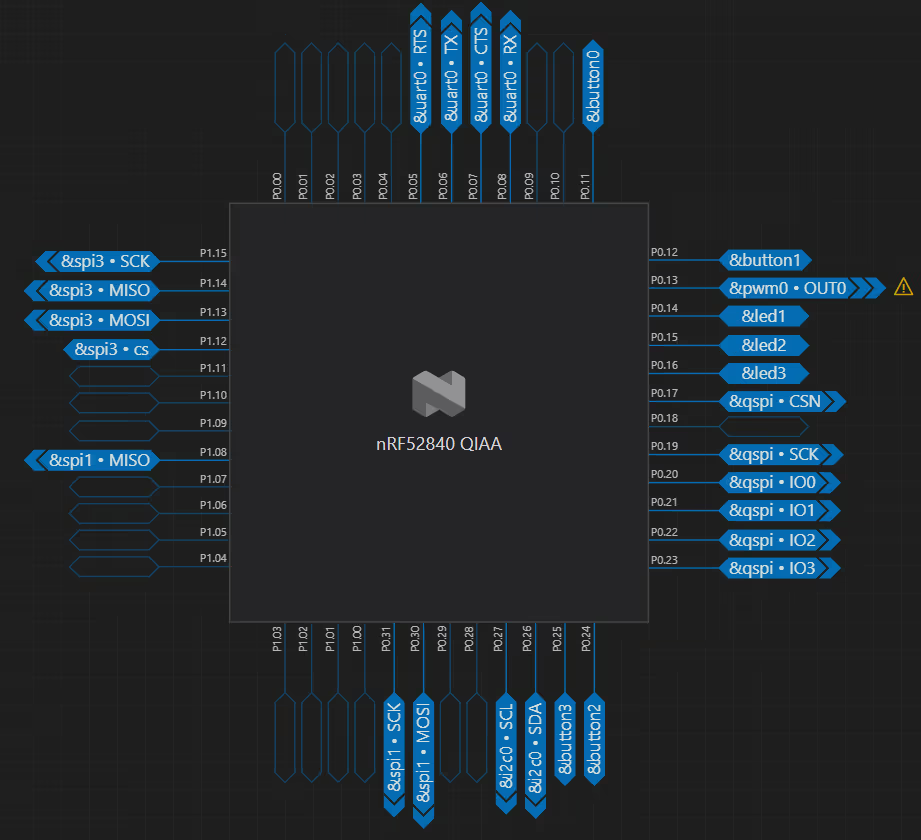
Note
If the node assignments for a pin have conflicts, a caution appears next to the pin.

Pin Overview panel
The Pin Overview sidebar panel lets you add new assignments and inspect and manage existing ones.
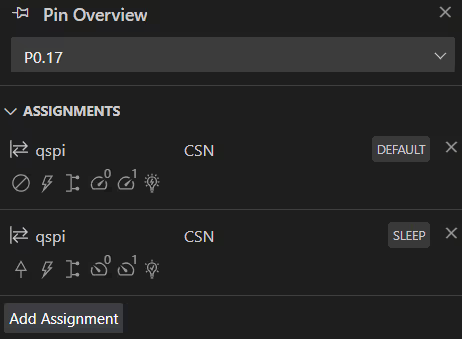
The panel always includes information about the pin assignment, such as node, function, and state. You can interact with it in the following ways:
| Action | Description |
|---|---|
| Drop-down menu | Select a different pin. |
| Add Assignment | Add a new assignment to the pin. |
| Clear PIN | Delete the currently displayed assignment from the pin. |
External GPIO controllers
Both the Peripherals and the Pins views can also display information about external GPIO controllers. These are listed separately with their pins, but only if the devicetree context is configured to include them, for example using the sx1509b node available for some boards.
Visual Editor actions
Use the buttons in the bottom right corner of the Visual Editor to switch between the Peripherals and Pins views.

You can interact with the Visual Editor in the following manners:
| Action | Type | Description |
|---|---|---|
| Left-click a pin or node | Mouse action | Opens the panel where you can inspect and change the configuration of pins (Pin Overview) or nodes (Node Inspector). |
| Click and hold RMB + drag cursor | Mouse action | Move the view in the editor area. |
| Use scroll wheel | Mouse action | Zoom the view in or out. You can also use the panel with Zoom in, Zoom out, and Re-center buttons at the right edge of the Visual Editor view. |
| Click node icons | Mouse action | Enable or disable the node. |
| Drag and drop pin assignments | Mouse action | When in the Pins view, lets you change pin assignment by dropping the node to a different pin. |
| Recenter Viewport | Context menu action | Right-click in the Visual Editor area to access the option. Use the option to recenter the Visual Editor. |
| Enable Peripheral | Context menu action | When in the Peripherals view, opens the list of peripherals that you can add to the SoC configuration. |